DIY: Whiteboard Station
Navid Nabijou helps you to experience the fun of lectures in your own home

As a mathematician living with a group of other mathematicians, I like to think, at least some of the time, that our conversations relate to something beyond our chosen subject. But let’s face it: we’re Imperial students. Inevitably, the moment does come when normal discourse collapses into a frenzied exposition on Graph Automorphisms and the implications of Zorn’s Lemma.
In the heat of the moment, having everyone jostling around the puny Pukka Pad on the kitchen table can be pretty frustrating. It disrupts the flow, forcing everyone to be louder and more violent as they try to get their point across.
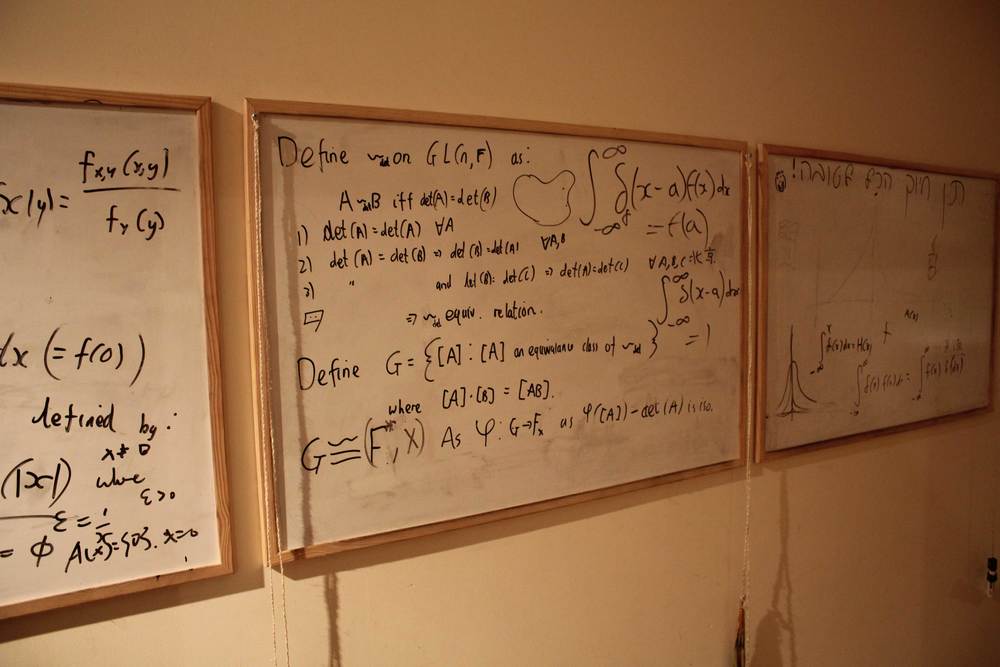
The solution to all this? A whiteboard station. The equations are up there on the wall in nice, big letters that everyone can read, there’s enough space for everyone to stand around, and, with multiple pens, people don’t have to fight each other for scribbling rights. On top of all this, there’s the added bonus that anything you write will seem instantly important – simply by virtue of being scrawled up on a board.
And the boards can be put to a lot more use than you first might think. Ours have been used for games of Pictionary; language lessons; even just leaving messages for each other (“pay rent” being the most common). It functions as a nice little communal place for people to gather around. You might never have thought of making one, yet once you have it it somehow seems indispensable.
How to do it
The size of your station will depend on a few things: the number of people living in your flat, the length of uninterrupted wall space you have, and what your budget is. We have three whiteboards side-by-side, spanning about three metres in total.
While this guide will be for a three-board set-up, you can easily tailor it for more or less boards as you see fit. (Do be warned, though, that while the boards might look big in the shop, once they’re up on the wall you’ll quickly find yourself running out of writing space.) Here’s what you’ll need:
• Whiteboard: 30” x 90” (x3) • Pack of sticky fixers • Board markers (x3) • Cloths for wiping (x3) • String • Nails (x3)
Most of these can be picked up at an ordinary stationery shop. The bulk of the cost will, of course, come from the boards. They’re usually around £15 a pop, but if you’re lucky enough to catch a sale at Ryman’s you can get them for half that.
Once you have all of the above, it’s time to get down to business. First thing to do is hammer a nail into the top-right corner of each board. We’ll be using this later to hang the markers and wiping cloths.
We’re going to use the sticky fixers to attach the boards to the wall. You could use nails, but your landlord might not be best pleased about this; in fact, on the subject of pissing off landlords, if you cheap out on the sticky fixers there’s a chance they could leave some nasty marks on the wall when you eventually remove the boards.
Now that I’ve cleared myself of any legal trouble: apply the sticky fixers liberally to the back of each board (i.e. use at least 15), and attach the boards to the wall in a line (if you’re really anal about this, you could use a spirit level to make sure they’re perfectly straight).
With the main task done, you’re going to need something for writing and erasing. Tie each of the board markers and wiping cloths to a piece of string, ensuring the string is long enough to fully cross the diagonal of each board. Put a loop in the other end, and hang one board marker and one wiping cloth on the nail in the corner of each board.
And voila! You’re done. Months of merriment await you and your flatmates. If the board gets too dirty, give it a spray with some cleaning fluid and it’ll be good as new. Enjoy!


